

Product Overview
SPECIFICATIONS
Application: Charger Controller,Voltage Controller,Solar System Controller,Solar Working Station
Brand Name: POWLSOJX
Certification: CE
Choice: yes
High-concerned chemical: none
Maximum Current: 100A
Origin: Mainland China
semi_Choice: yes
Product Highlights
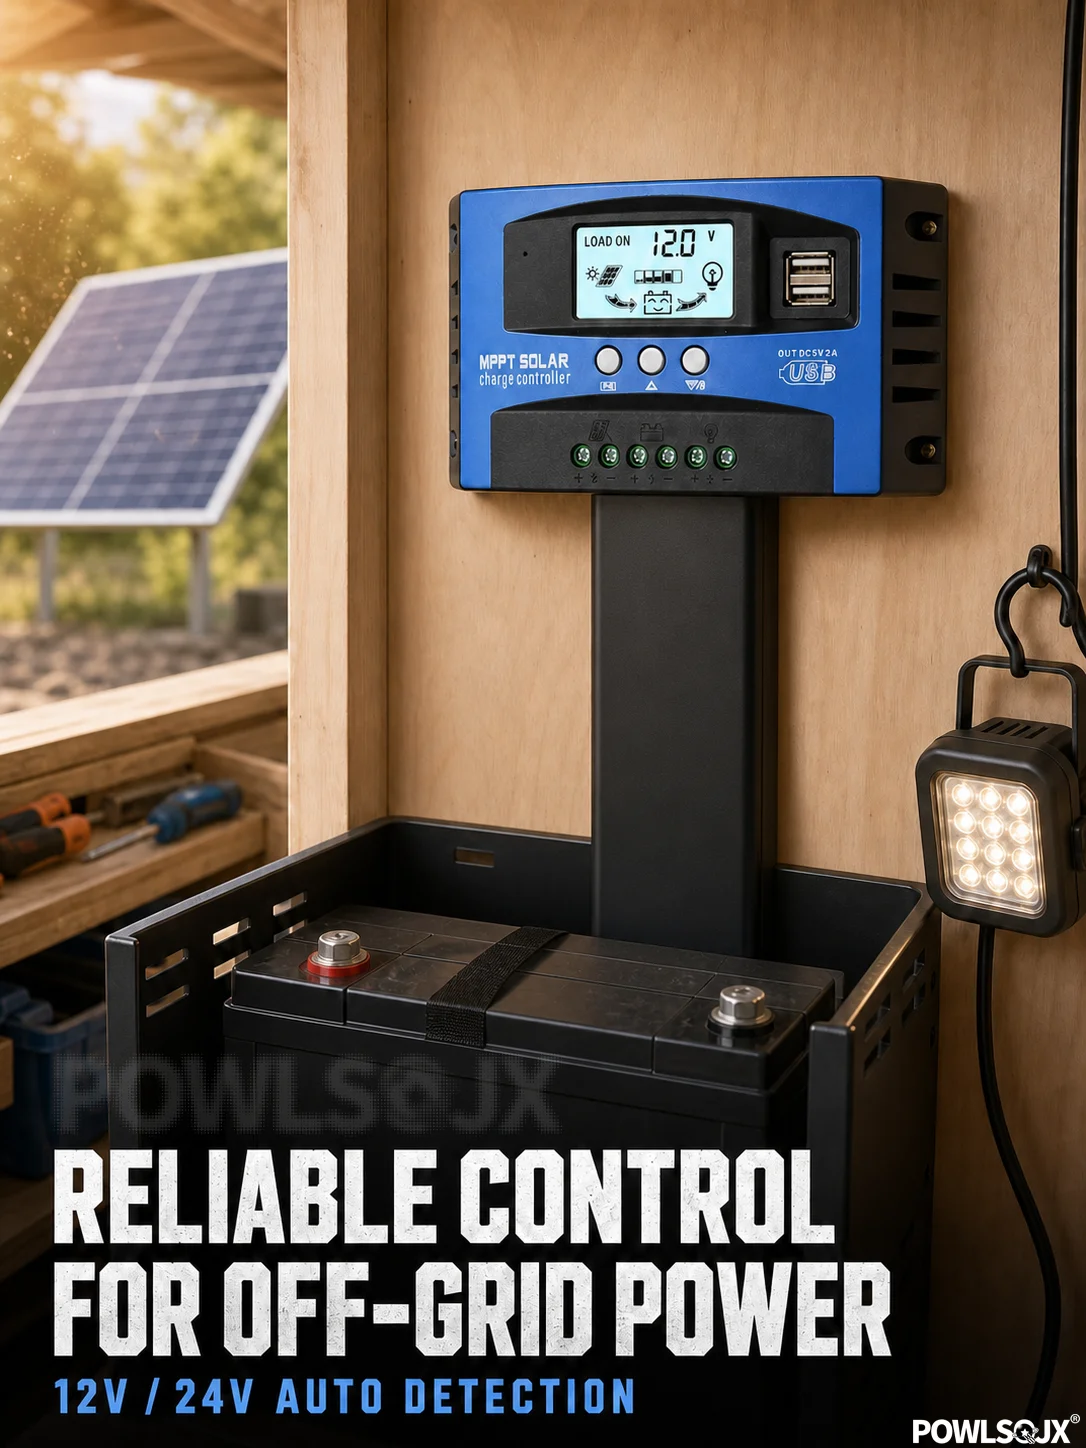
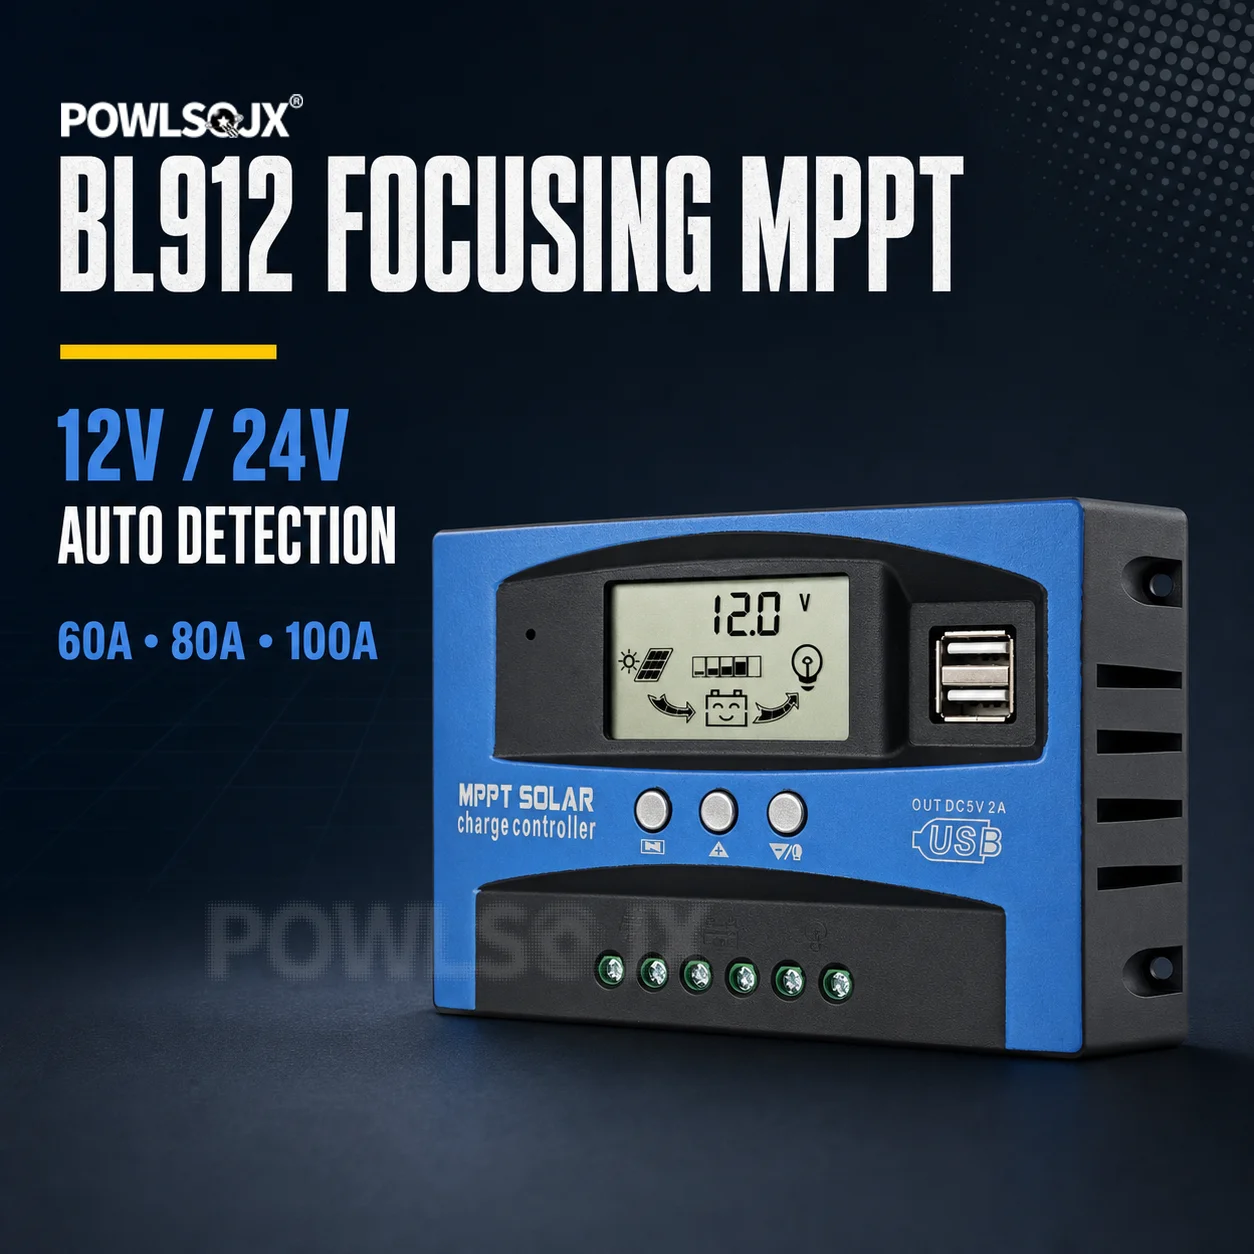
Focusing MPPT solar charging with 12V/24V automatic system detection.
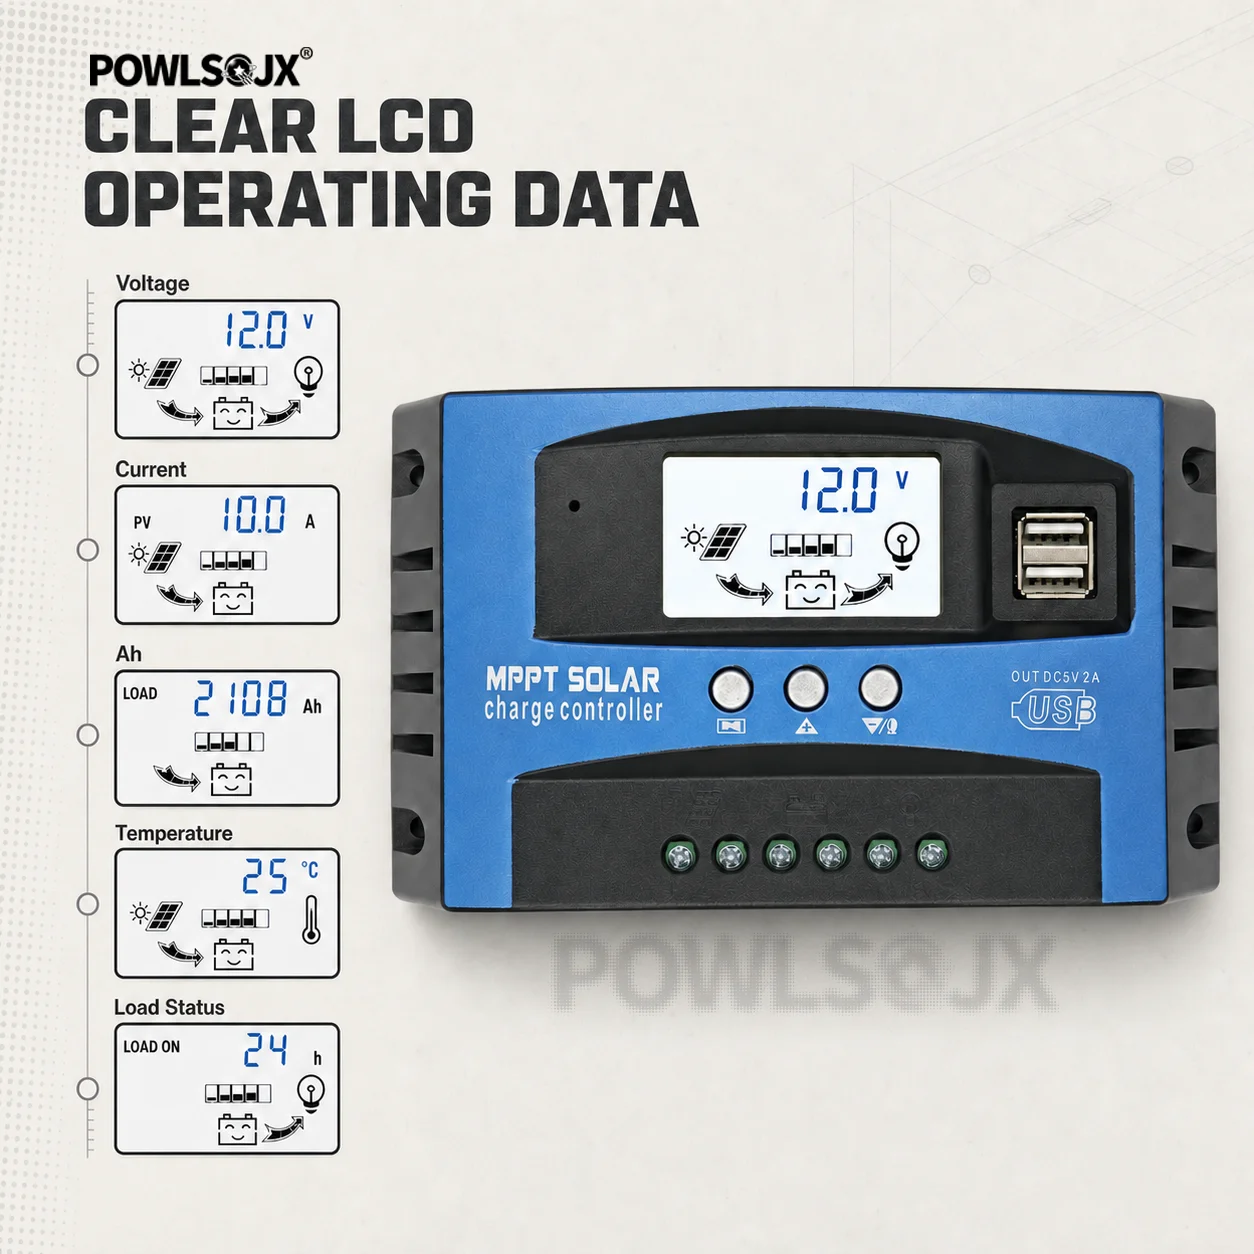
Large LCD for battery voltage, charging current and accumulated amp-hour readings.
Selectable lead-acid, 3S Li-ion and 4S LiFePO4 modes with adjustable charging settings.
Programmable lighting control, dual USB ports and power-off setting memory.
Key Features
Take Control of Your Solar Battery System
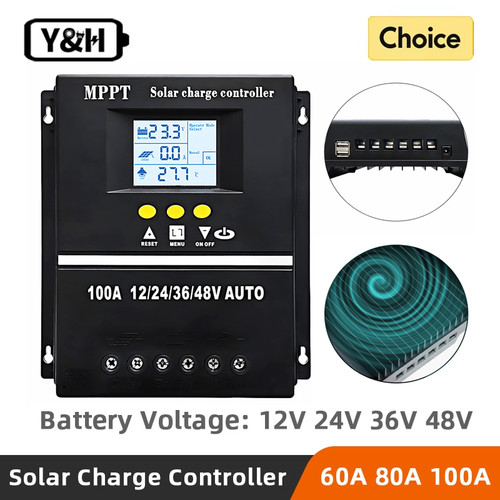
The POWLSOJX BL912 brings focusing MPPT solar charging, battery monitoring and DC load control together in a compact controller. Choose the 60A, 80A or 100A model to suit your installation.
See What Your System Is Doing
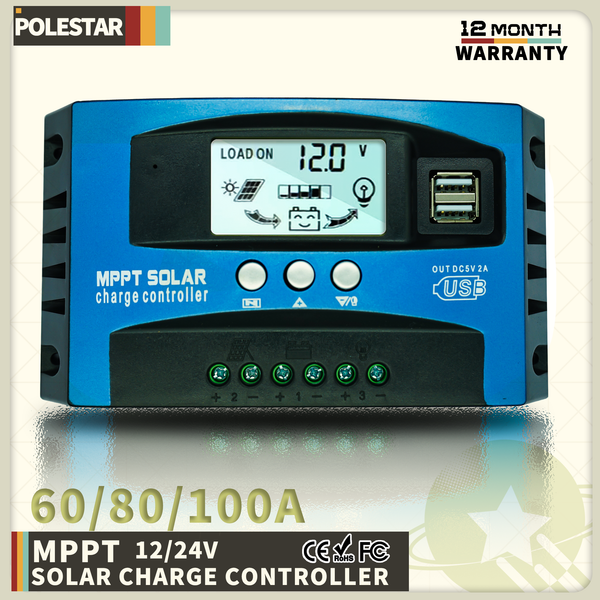
Read battery voltage, charging and discharge current, accumulated amp-hours and temperature on the LCD. Solar, battery and lamp icons make operating status easy to follow. Use the three front buttons to browse readings and adjust settings.
Match Charging to Your Battery
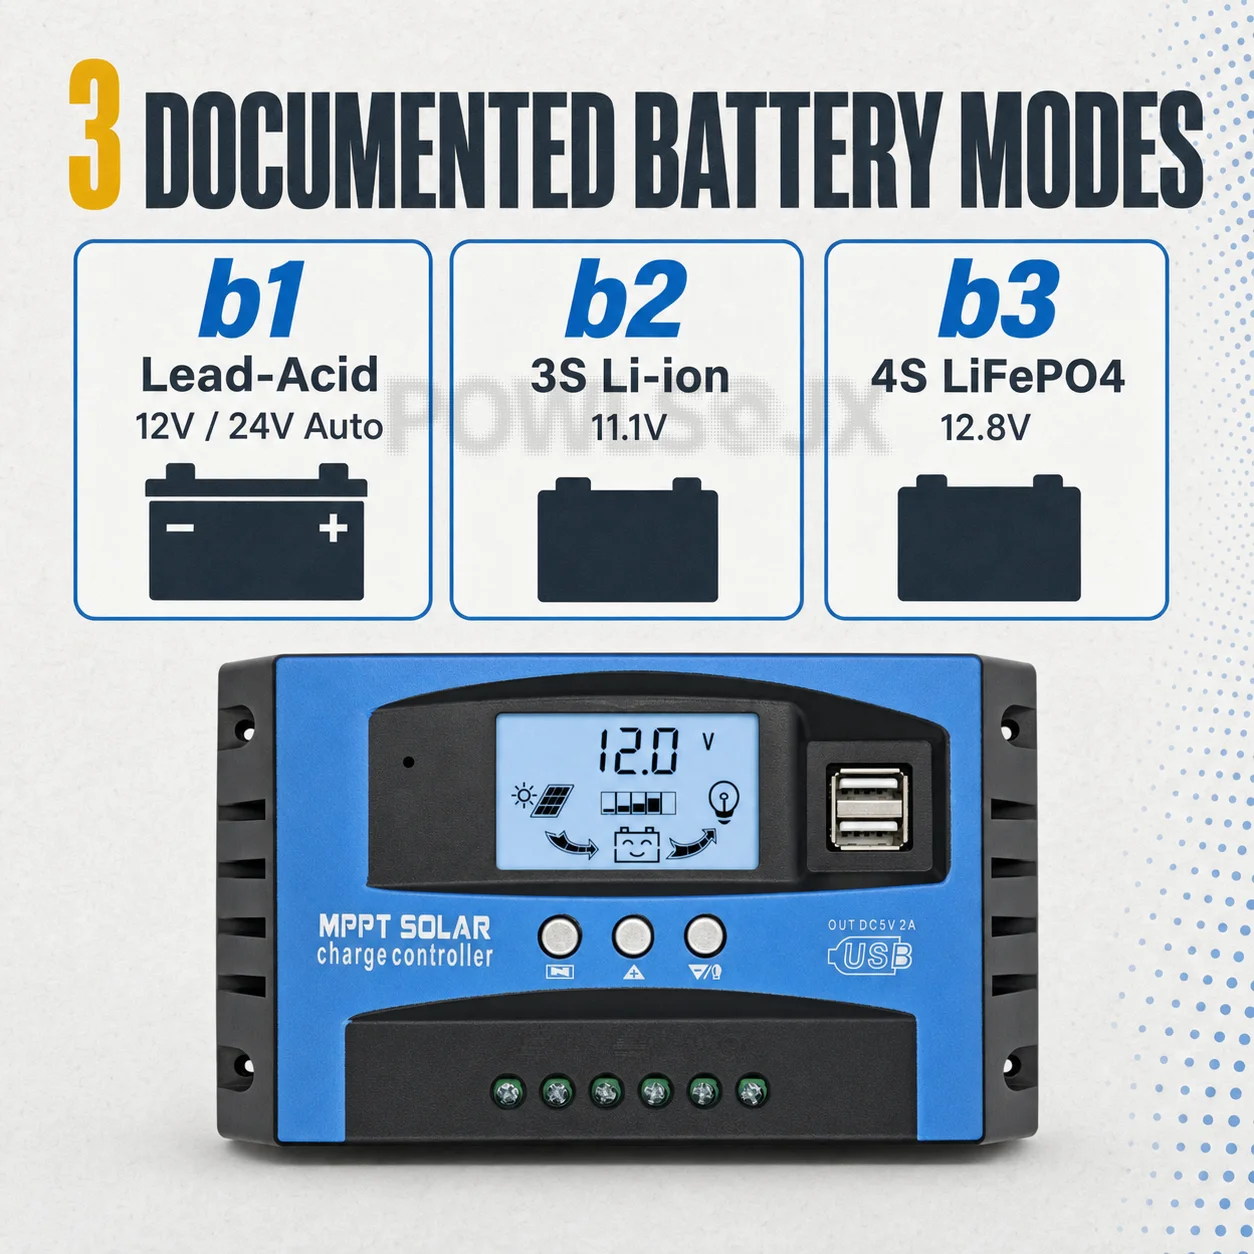
Select b1 for 12V/24V lead-acid batteries, including flooded, sealed and gel types; b2 for 3S 11.1V Li-ion; or b3 for 4S 12.8V LiFePO4. Three-stage charging and adjustable voltage settings support battery management. Set the battery mode and charging parameters before using a lithium battery.
Put Lighting on a Schedule
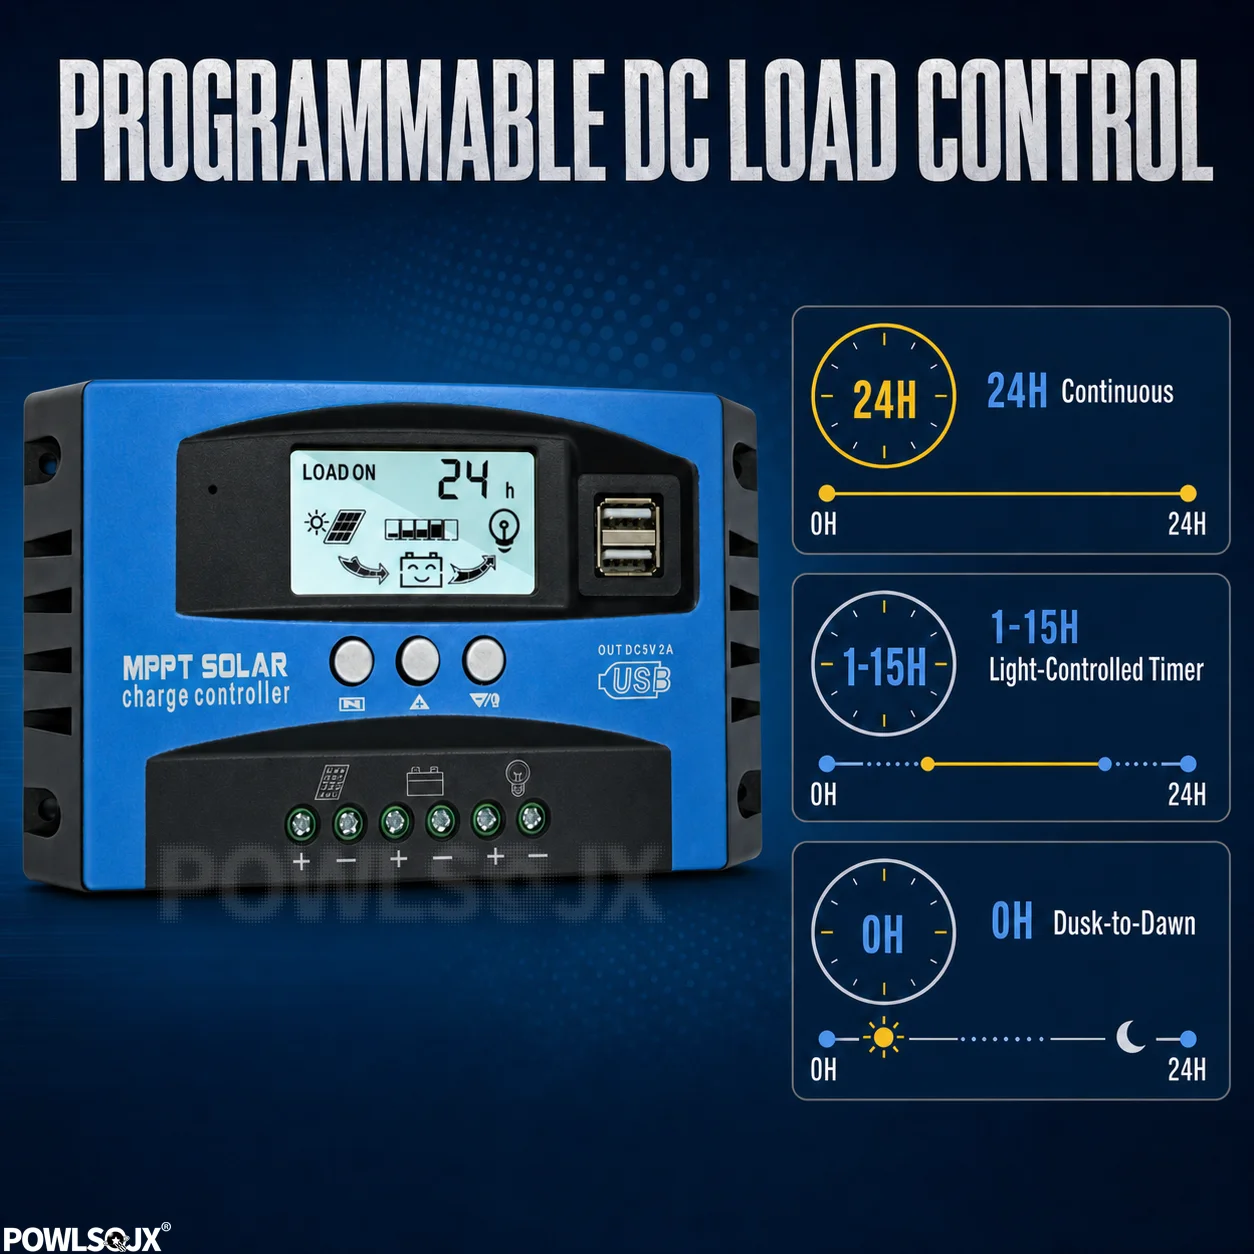
Choose 0H for dusk-to-dawn lighting, 1–15H to turn lights off after a set period, or 24H for continuous output with low-voltage protection. Light sensing uses the connected solar panel. Use compatible 12V DC lights on the controlled load output.
Convenient Front-Panel Access
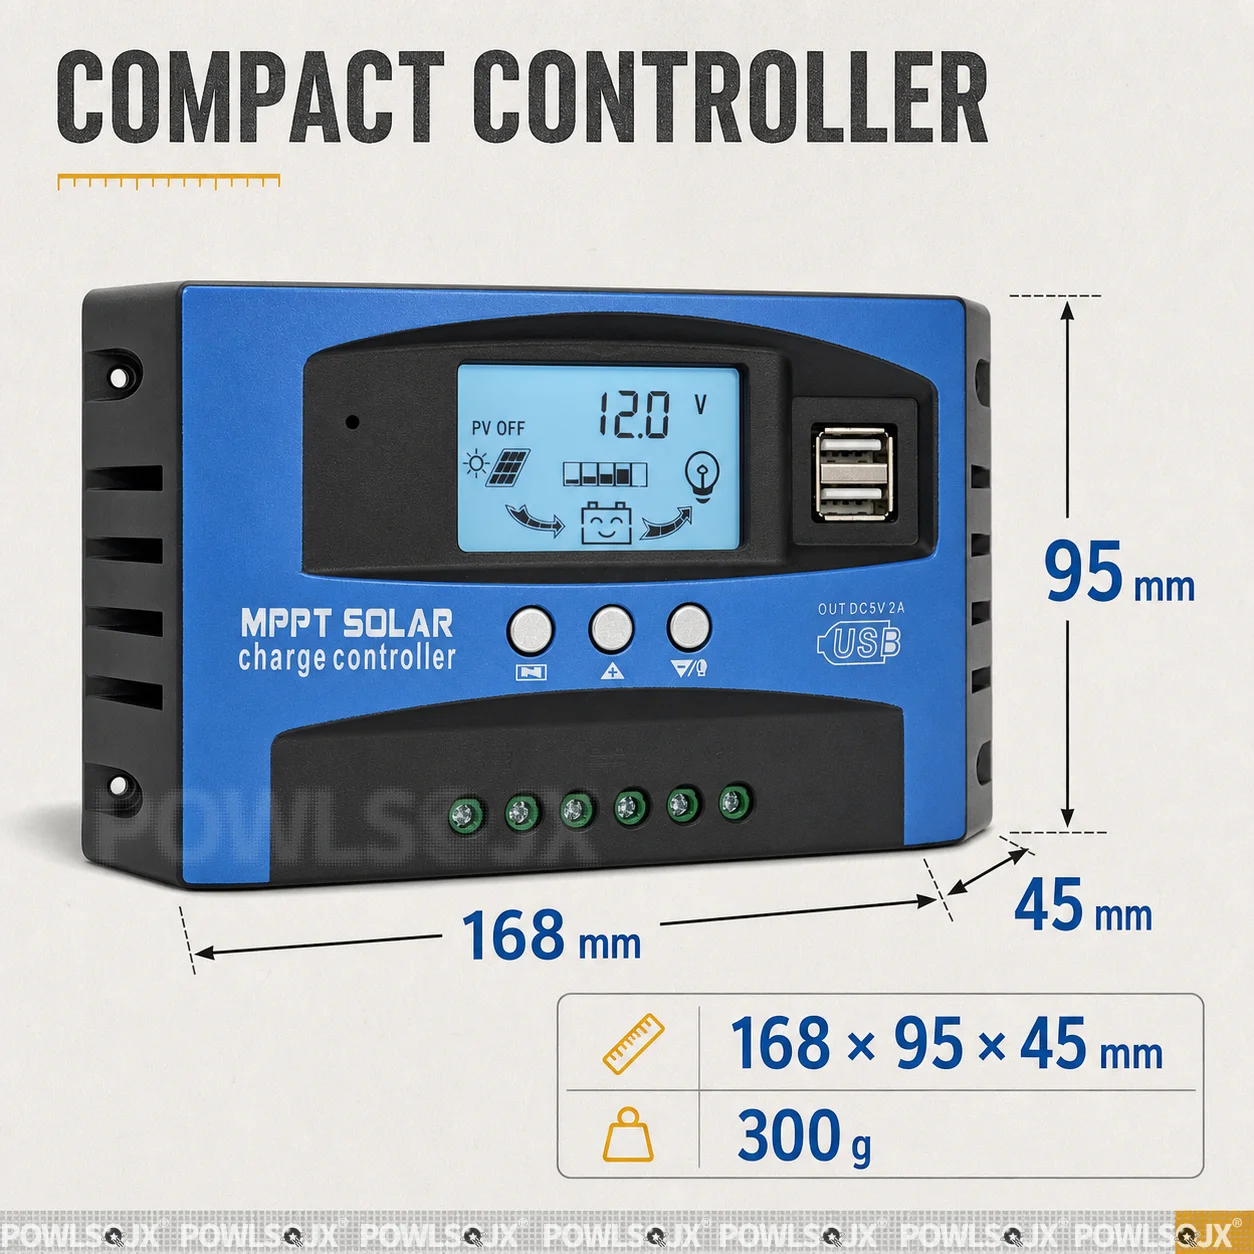
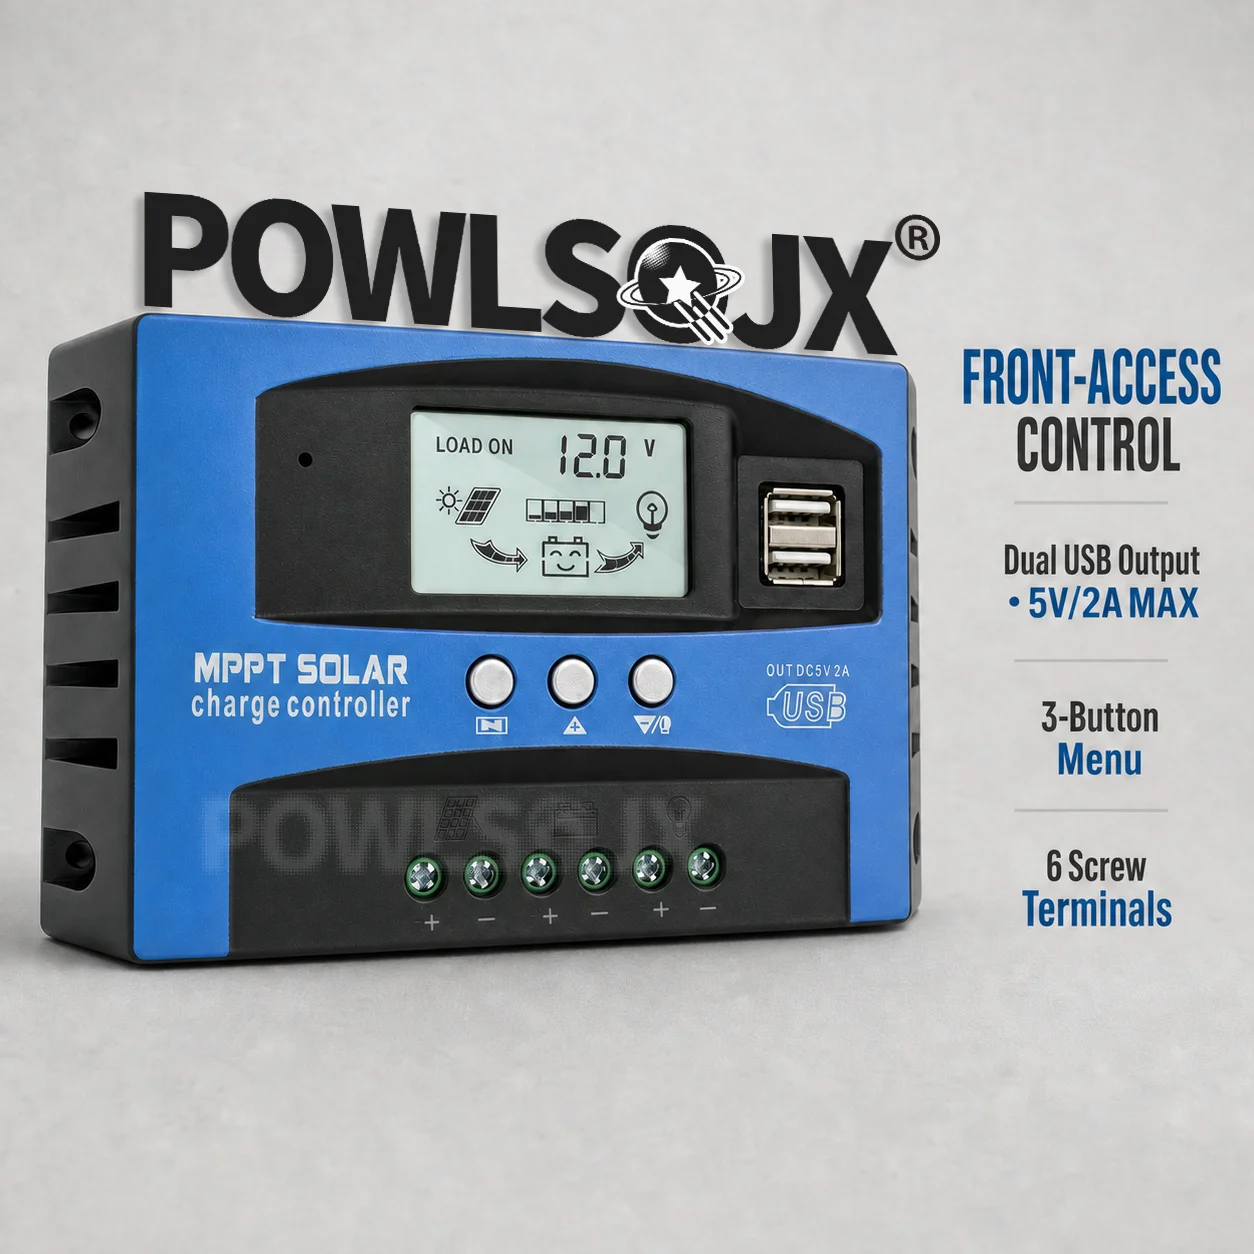
Two stacked USB-A ports provide 5V output for compatible USB-powered devices. Six screw terminals group the solar panel, battery and load wiring. The blue-and-black enclosure includes side ventilation slots, four mounting holes and two round DC sockets.
Save Settings and Manage Battery Discharge
Adjust float voltage, discharge cutoff and recovery voltage with the front buttons. The controller retains settings after power loss and switches the load off when the battery reaches its cutoff threshold. Overcurrent, short-circuit, open-circuit and reverse-polarity protection is self-recovering; an anti-backflow circuit blocks reverse current.
Technical Specifications
Brand / Series: POWLSOJX / BL912
Available variants: 60A / 80A / 100A. The supplied model is the variant selected in your order.
Controller type: Focusing MPPT solar charge controller
Battery system voltage: 12V / 24V automatic detection
Solar panel voltage range: 15–23V for a 12V battery system; 30–46V for a 24V battery system
Charging management: Three-stage charging
Battery mode b1: 12V / 24V lead-acid batteries, including flooded, sealed and gel types; factory default
Battery mode b2: 3S Li-ion, 11.1V
Battery mode b3: 4S LiFePO4, 12.8V
Default float voltage: 14.2V, adjustable; value for a 12V system
Default load cutoff voltage: 10.5V, adjustable; value for a 12V system
Default load recovery voltage: 12.6V, adjustable; value for a 12V system
Load modes: 24H continuous output with low-voltage protection; 1–15H after-dark timer; 0H dusk-to-dawn control
Package Includes
1 × POWLSOJX BL912 focusing MPPT solar charge controller in the selected model.
Installation and Use
Connect the battery first, the solar panel second and the DC load last. Disconnect in reverse order.
Use a 15–23V solar panel with a 12V battery system, or a 30–46V solar panel with a 24V battery system.
Select the correct battery mode before charging. Configure lithium charging settings to match the battery.
Use solar panels as the charging source. Connect an inverter directly to the battery, not to the controller's load terminals.
Mount close to the battery on a flat, well-ventilated surface. Check terminal polarity before connecting.